Some crochet projects are lovely to make. Others become the piece everyone asks about. A crochet butterfly bag brings both together, turning colorful wings into a playful accessory with plenty of handmade charm.
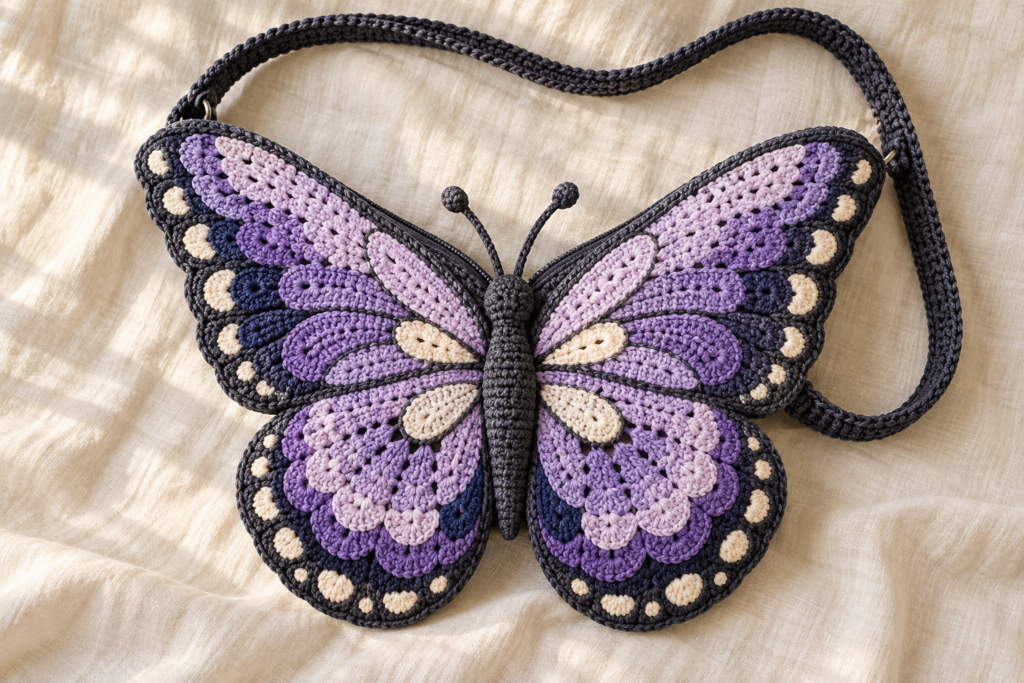
The Butterfly Bag pattern builds the bag from two butterfly-shaped panels and a crocheted strap. Layered colors, shaped wings and a defined border give it a distinctive silhouette. If you enjoy crochet accessories and want a project that goes beyond a simple rectangle, this design is an inspiring next step.
Here is a closer look at its construction, materials and the details to consider before you begin.
1. A Butterfly Shape That Makes the Whole Bag
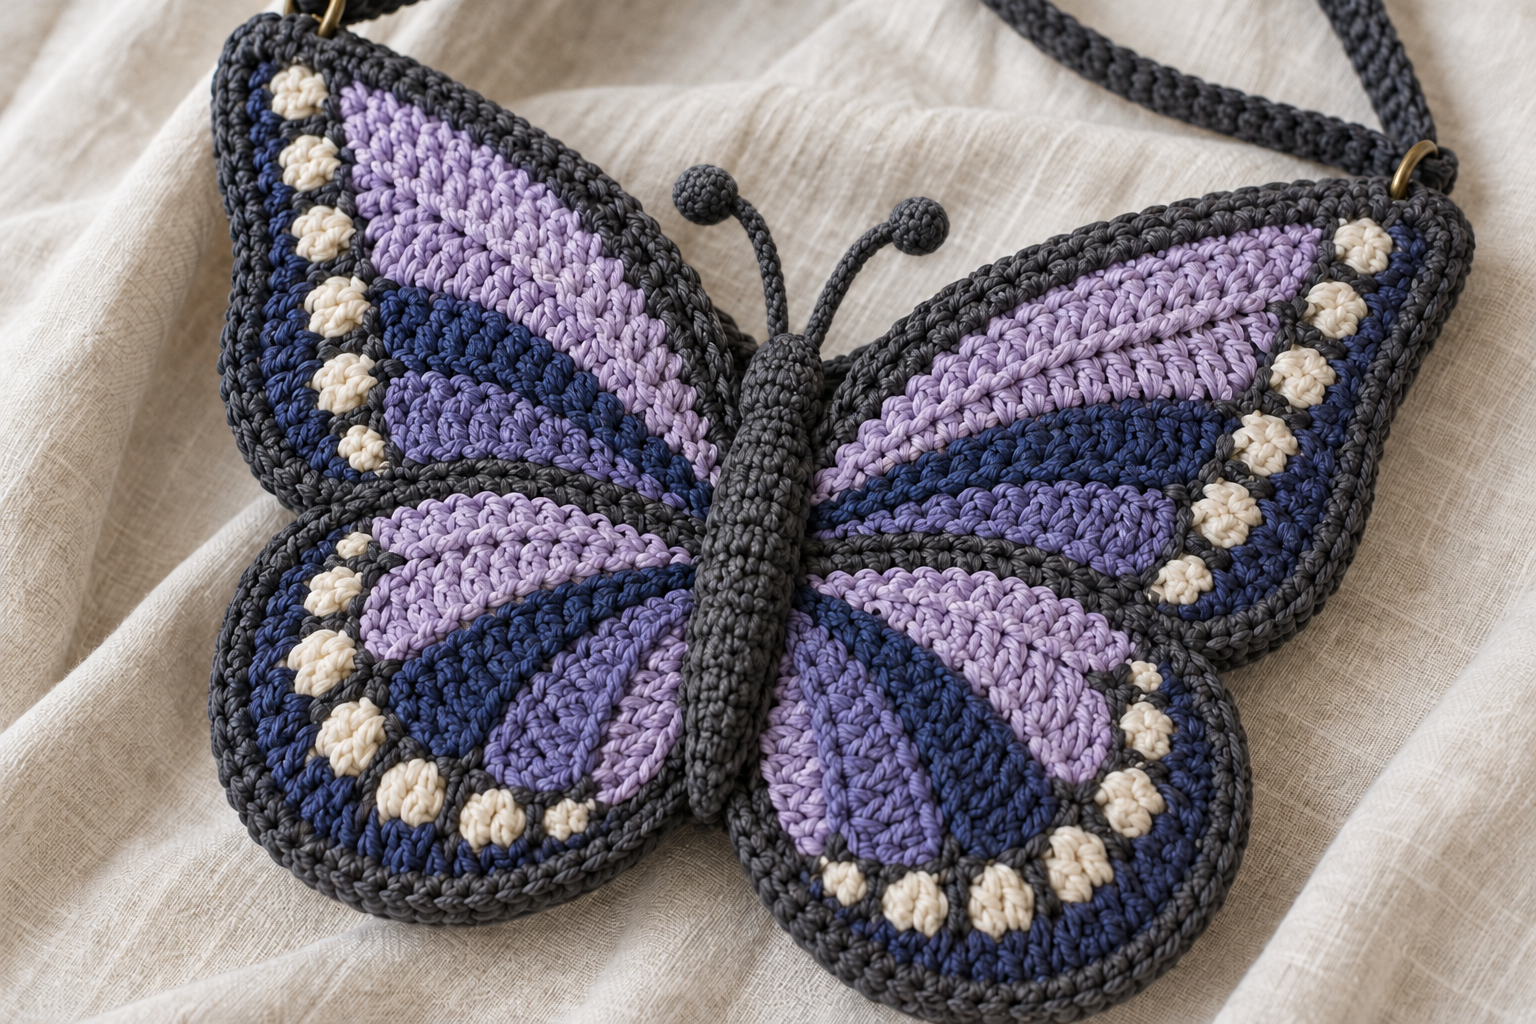
The butterfly is the structure of this accessory, rather than a small decoration attached to a conventional bag. Each panel has a central body, two upper wings and two lower wings. A border brings these parts together and emphasizes the outline.
This gives you several places to play with color. Soft shades create a gentle look, while strong contrasts make the wing details stand out. Choose a palette you would enjoy wearing, then use the border to tie it together.
2. Is This Crochet Butterfly Bag Beginner-Friendly?
The source pattern rates the project as intermediate. It combines familiar crochet stitches with shaping, color changes and assembly, so it is best suited to makers who already feel comfortable following written rows and checking stitch counts.
Expect to use chains, single crochet, half double crochet, double crochet, treble crochet and slip stitches, along with increases and decreases. Working a small practice sample can help you refresh any technique that feels unfamiliar before starting a full panel.
3. Gather Your Yarn and Tools
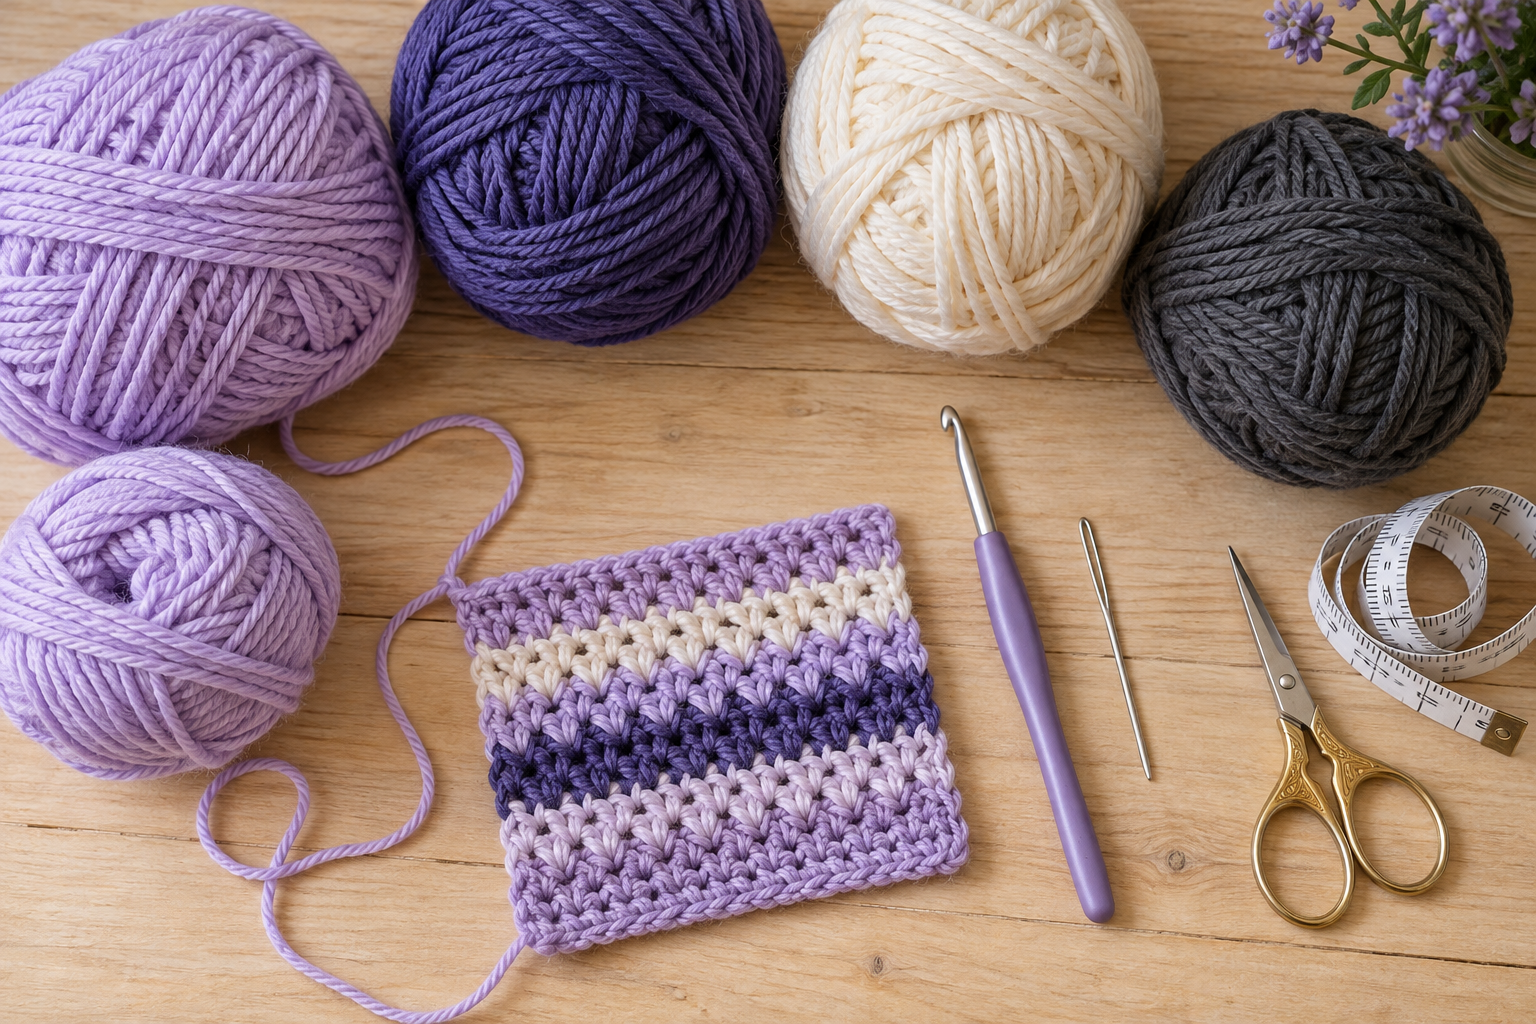
The pattern lists a 4.5 mm crochet hook, medium-weight yarn, a yarn needle and scissors. Its pictured sample combines acrylic yarn for the butterfly sections with cotton for the border and strap.
That sample uses approximately 166 g of acrylic and 330 g of cotton. Treat these as details of the pictured version, rather than a guaranteed shopping quantity for every yarn substitution. Different fibers, tension and strap lengths can change how much yarn you need.
Keep your chosen shades clearly labeled. With several colors in the wings, a simple yarn chart makes it easier to stay consistent across both panels.
4. Plan a Palette You Will Love
The written example uses light, medium and dark purple, plus blue and white for the wing colors. The photographed bag pairs these shades with a dark outline that makes the butterfly shape easy to see.
For your own interpretation, consider lilac and cream for a soft accessory, warm orange tones with a dark border for a bold look, or several greens for a fresh palette. These are styling suggestions; follow the original pattern’s color placement when you want to preserve its wing markings.
5. Understand the Two-Panel Construction
You make two complete butterflies before joining them into a bag. Each one begins with the central body, followed by the upper and lower wings and their border.
The left and right wings have their own instructions. Read the correct section as you work instead of assuming one side repeats the other. Keeping your place with a row marker is especially helpful when shaping and color changes appear together.
Before assembly, place both finished panels beside each other. Compare their outlines and dimensions so you can address any noticeable difference while the pieces are still separate.
6. Give the Strap Some Thought
The strap is worked as a long rectangle and becomes part of the bag’s construction. In this design, its length includes the section that runs around the butterfly panels as well as the section used for carrying.
That detail matters when planning the fit. Consider where you want the bag to sit, then follow the pattern’s construction guidance when deciding the strap length. A measurement taken only across your shoulder will not account for the entire crocheted strip.
7. Finish for Shape and Everyday Use
Weave in loose ends as you go, especially around color changes. This keeps finishing manageable and makes the inside easier to tidy before assembly.
The source also suggests a lining when soft yarn might stretch too much. A lining can be worth considering if you want more support or intend to carry small belongings. Match its shape to your finished bag rather than relying on a fixed size from another maker’s version.
When shaping the panels, use a finishing method appropriate for your yarn’s fiber and care instructions.
8. Let the Finished Size Be Your Guide
The tester gallery shows that yarn choice, hook size and tension can produce different results. There is no single finished measurement that applies to every version.
Measure your own panels and assess the opening, strap and lining together. For a first outing, keep the contents light and check how the bag holds its shape before adding more weight.
Ready for Your Next Crochet Accessory?
A crochet butterfly bag offers a satisfying mix of colorwork, shaping and creative styling. Take it one section at a time, keep both panels consistent and give the finishing details the same attention as the wings.
Whether you choose soft purples or a brighter palette, this is an accessory with a silhouette worth showing off. Save the idea for your next crochet project and choose the colors that make it feel like yours.